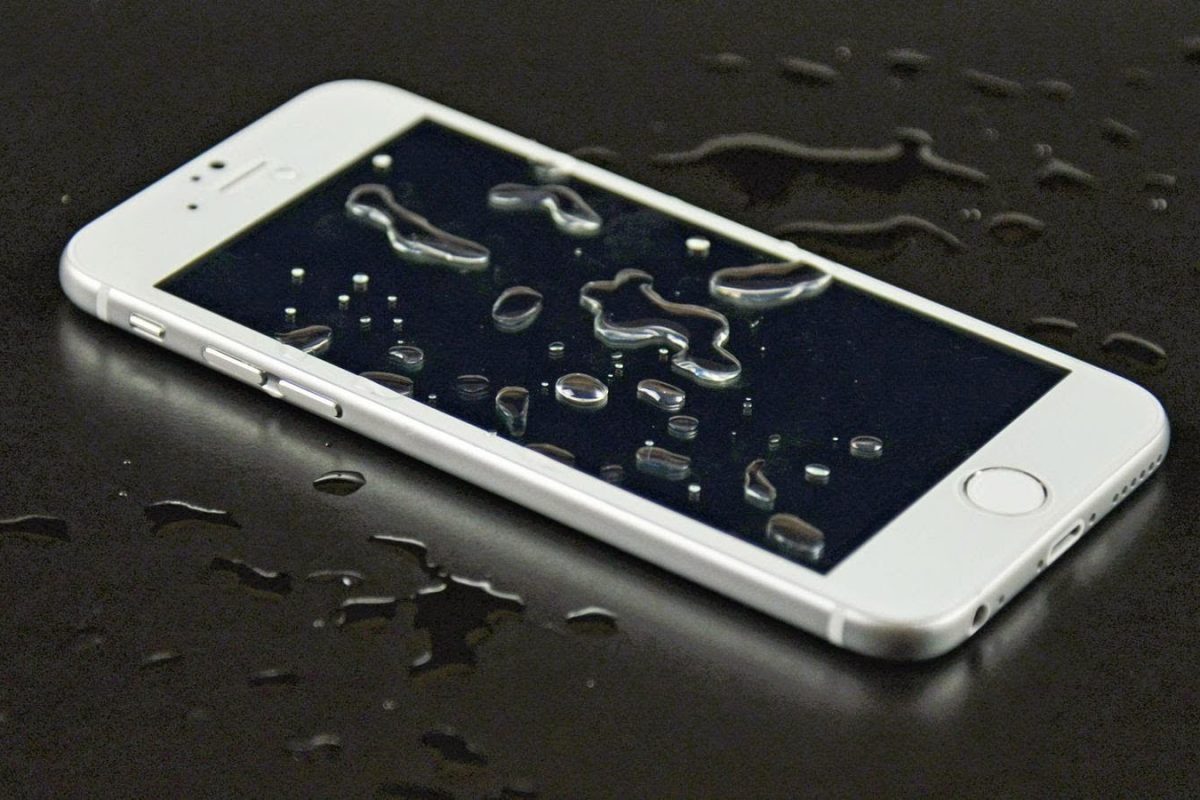
So you’ve dropped your smartphone into the toilet, sink or pool. Don’t panic! If you act fast you can prevent your smartphone from becoming water damaged. In today’s article, we’ll show you how you can save (or try at least) a water that has just dropped in water.
First of all, remove the phone from the water as quickly as possible. The longer it stays there, the more water or liquid will seep through the cracks and openings of your phone. Once it’s out of the water, there are certain things you need to do right away, and certain things you should absolutely avoid doing in order to prevent water damage.
What not to do
- Do not turn it on
- Do not press any buttons or keys
- Do not shake, tap or bang the phone
- Do not blow on it. This could send water into other internal parts of the phone that it hadn’t already reached, causing more damage in the process
- Do not heat it up (that includes using a blow dryer or microwaving it)
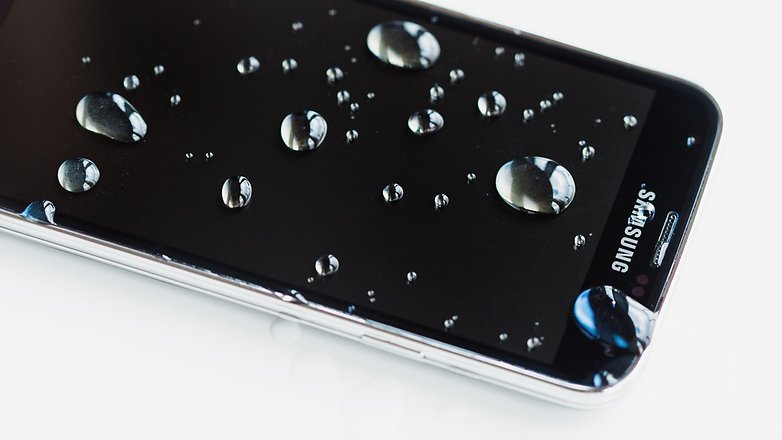
10 steps to saving your water damaged phone
1. Turn it off if, it isn’t already and hold it upright.
2. Remove any protective casing and, if your phone has them, remove your SIM and microSD cards from their slots.
3. Open up the back and remove the battery, SIM card(s) and microSD card if you are able to (note that this won’t be possible with all phone models).
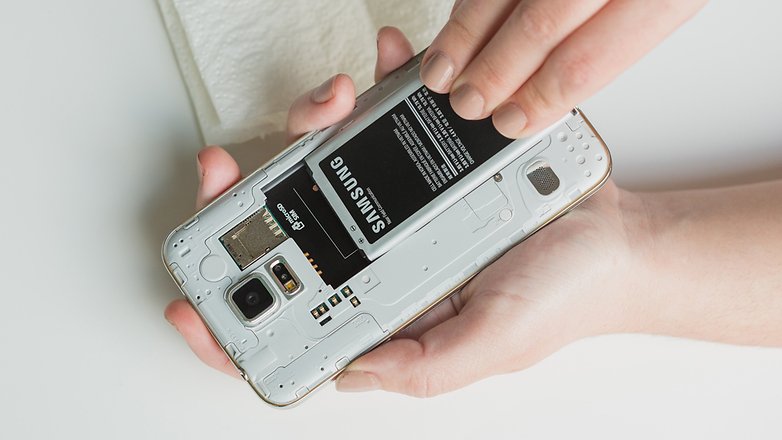
4. Use a cloth, sleeve or paper towel to dab your phone dry. Avoid spreading the liquid around, because that could push it into more of the phone’s openings. Just soak up as much as possible.
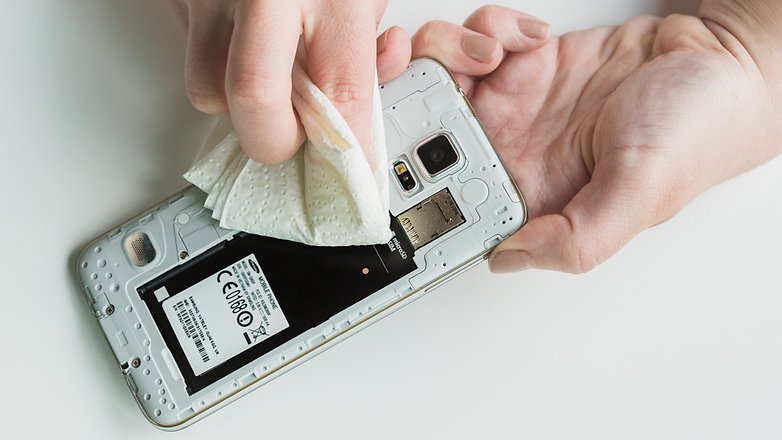
5. If the water damage is more extensive, you can use a vacuum to carefully suck out water stuck from the cracks that are harder to get at. Make sure any small parts, such as the microSD card, SIM card, or battery, are out of the way before attempting this.
6. Bury the phone in a ziplock bag full of uncooked rice. Rice is great for absorbing liquid and this is actually a common method for drying smartphones and tablets. You can also buy dedicated phone drying pouches, which are worth having at home if you’re the clumsy type. If you don’t have one at home, don’t bother going out to buy one. Indeed, time is of essence, so get your phone into rice as soon as possible.
7. Let your phone dry for a day or two. Do not be tempted to switch it on see if it still works. Put your SIM card in an old phone, or ask a friend or family if they have a spare that you can borrow.
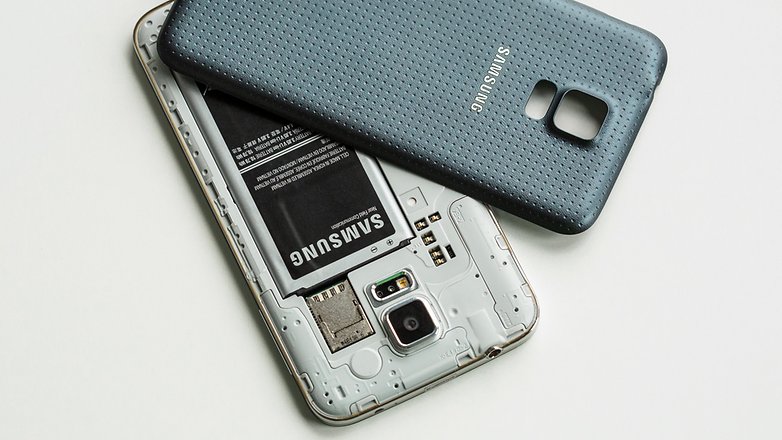
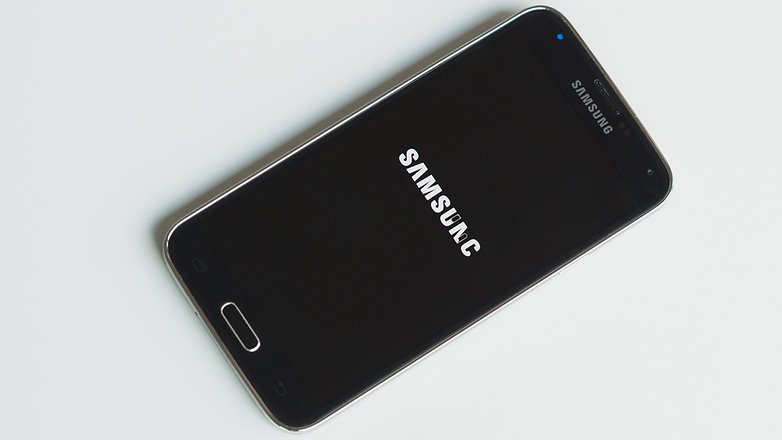
8. After a couple of days, you can remove the phone from the rice back, insert the battery into the phone and switch the phone on.
9. If your phone doesn’t turn on, try charging it. If it doesn’t charge, the battery may be damaged. You could try a replacement battery, or consider taking your smartphone to a repair shop to be checked by a professional.
10. If your phone has turned on and it is running as it should, you should still keep a close eye on it for the next few days, to see if you notice anything out of the ordinary. Play some music to check the speakers and ensure the touch screen still responds as it should.
In the future, avoid taking the phone with you when you go to the pool, use the bathroom or do the dishes.
Water resistant cases
Hopefully these steps have helped you rescue your phone from death by drowning. If you want to protect your phone from water in future, you can also purchase a waterproof phone case. There are some good options available from brands such as Otterbox, Griffin Survivor and Catalyst.
Water resistant phones
A number of phones are advertised as “water-resistant”. Be aware that when phone manufacturers say this, it only applies under a special set of circumstances. A phone’s resistance to water often depends on the clarity of the water, the depth of submersion, and the length of time for which it is submerged. We wouldn’t advise submerging any smartphone in water unless it is absolutely necessary.
